DIY Artificial Turf Mistakes That Ruin Northwest Lawns
The short answer
The costly DIY turf mistakes here are an inadequate base (too shallow, wrong rock, poor compaction), no drainage plan for hardpan, skipped weed barrier and edge restraint, wrong-direction seams, and too little infill. In the Northwest's wet climate, a failed base means pooling, wrinkles, and weeds — and a full redo.
Artificial turf is marketed as an achievable weekend project, and on flat, sandy ground in a dry climate it nearly can be. Northwest yards are neither. Our glacial till subsoil, the water it holds, and the freeze-adjacent winters that test every seam turn turf installation into a project where small shortcuts produce large, expensive failures a season or two later.
Most DIY turf that fails here fails for the same handful of reasons, and every one of them is invisible on installation day. The lawn looks perfect the afternoon it goes down and then wrinkles, lifts, drains poorly, or mats down as the base settles and the seams work loose. These are the five mistakes we are most often called to fix, and understanding them shows why the base beneath the turf, not the turf itself, is where the job is won or lost.
Key takeaways
- The number-one failure is an inadequate base — too shallow, the wrong rock, or poorly compacted for the load.
- Skipping a drainage plan on hardpan leaves water with nowhere to go, causing pooling and wrinkles.
- Omitting a weed barrier lets weeds push up through the turf within a season or two.
- No edge restraint means the perimeter lifts, curls, and separates over time.
- Running seams the wrong direction or against the grain makes them obvious and prone to opening.
- Under-filling with infill leaves blades matted and flat and shortens the turf's usable life.
Mistake 1: Under-Excavating Glacial Hardpan Clay
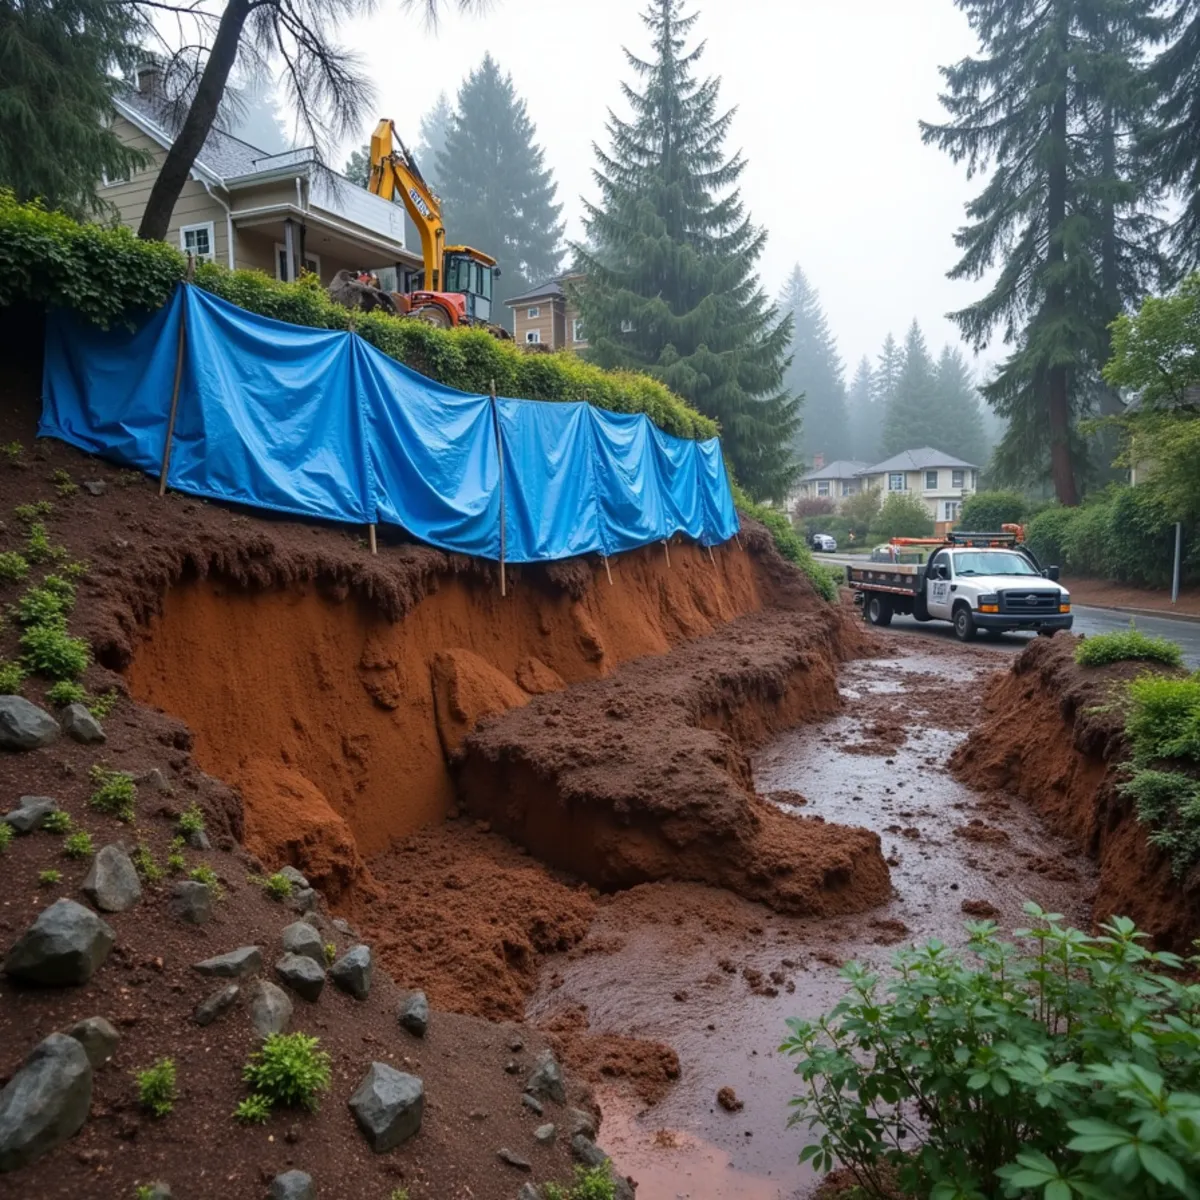
The first mistake happens before any turf comes out of the roll: not digging deep enough. A proper turf installation removes several inches of native soil to make room for a compacted crushed-rock base. DIYers, facing our dense glacial till, the hard, clay-heavy layer locals call Seattle hardpan, routinely stop short because it is genuinely difficult to excavate.
Under-excavating leaves too little room for base rock, and installing turf over shallow or undisturbed hardpan is a recipe for trouble. Our clay soil holds water and heaves as it saturates and drains through the seasons. Without an adequate base buffer between the turf and that moving, water-holding subsoil, the surface telegraphs every bit of that movement as dips and soft spots.
Excavation depth is unglamorous and physically demanding, which is exactly why it gets shortchanged. But it sets the ceiling on how good the finished lawn can be. Everything else in the installation depends on having dug out enough room to build a real base, and no amount of care with the turf on top can compensate for a base that was never given space to exist.
Mistake 2: Using the Wrong Base Rock and Skipping Plate Compaction
The second mistake is filling that excavation with the wrong material and failing to compact it. The base is what carries the load and moves the water, and in our climate it needs to do both well. The right choice is an open-graded crushed rock, commonly a 5/8-inch minus, that both compacts to a firm surface and drains freely.
Why Base Material Choice Matters
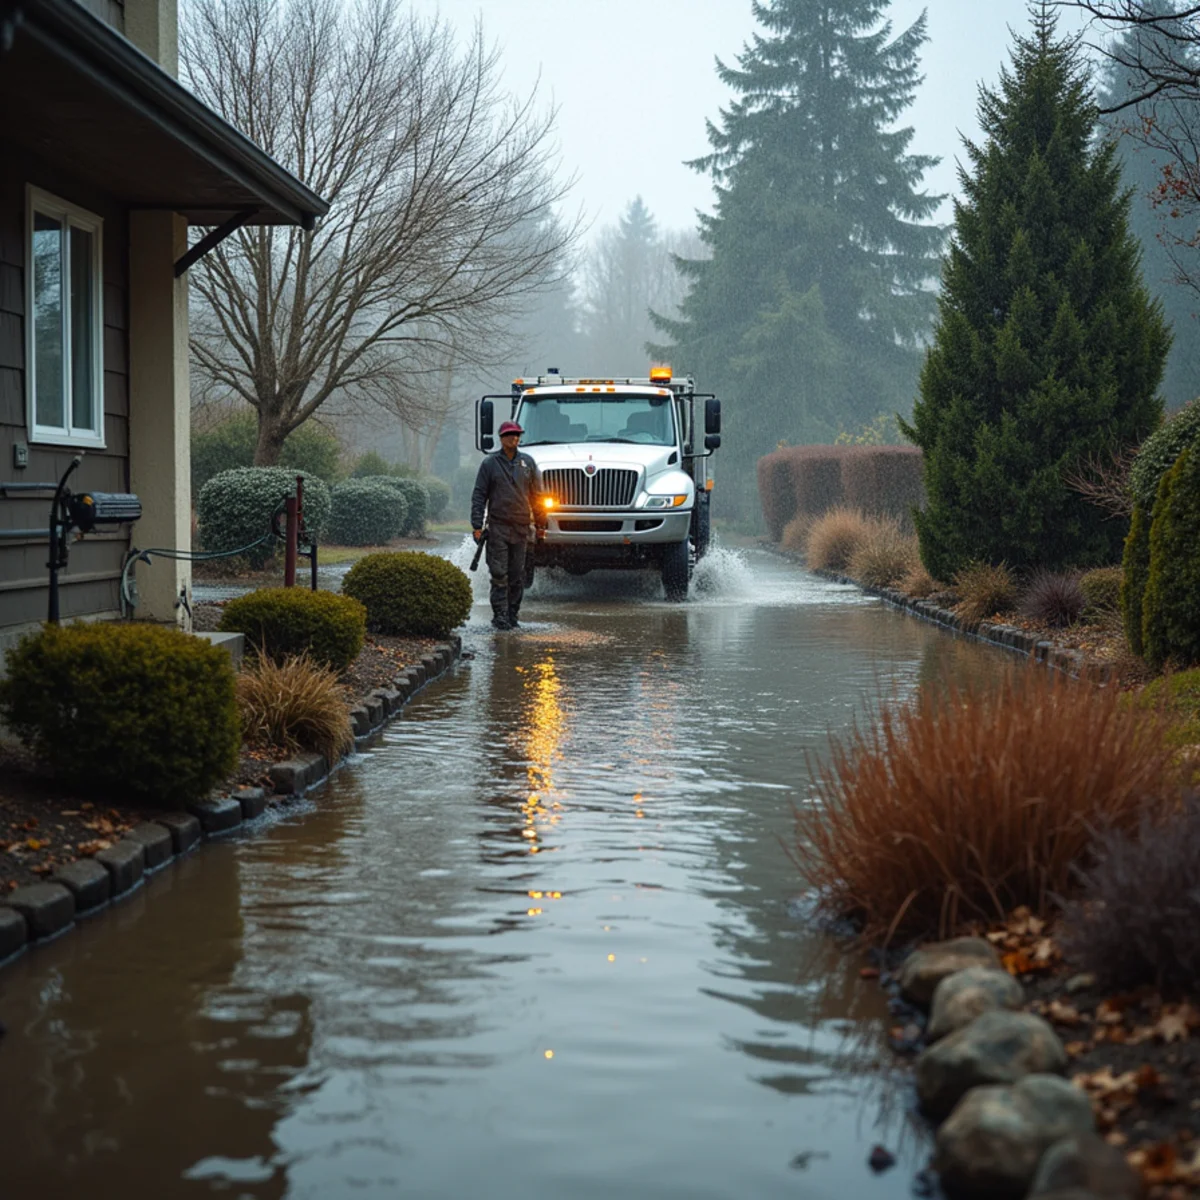
Homeowners often reach for whatever is cheapest or already on-site, such as pea gravel that never locks together or fine material that turns to mud. The wrong rock either refuses to firm up or traps water against the turf backing. In a climate defined by winter saturation, a base that cannot drain condemns the lawn to sogginess no matter how good the turf is.
The Plate Compactor Step
Base rock must be installed in lifts and compacted with a plate compactor, not just raked smooth. Uncompacted aggregate keeps settling under foot traffic and weather, and as it settles the turf above it dips and wrinkles. Skipping mechanical compaction is one of the most common reasons a DIY lawn looks fine in spring and uneven by fall.
Mistake 3: Poor Seam Gluing That Pulls Apart in Winter Freezes
Where two pieces of turf meet, the seam is the most visible and most fragile part of the whole installation. A seam done well disappears; a seam done poorly becomes a lifting, fraying line that gets worse every winter. DIY seams commonly fail because the edges are not cut and aligned precisely, the seaming tape and adhesive are the wrong type, or the glue is applied in damp conditions where it never fully cures.
Our climate is unforgiving of weak seams. Moisture works under a poorly bonded edge, and the cold snaps at the margins of winter stress the adhesive exactly where it is weakest. A seam that looked acceptable in August lifts and curls by February, and once it starts to peel, foot traffic accelerates it. Re-doing a failed seam usually means recutting turf and often ordering more material, turning a small savings into a real expense.
Mistake 4: Insufficient Infill Causing Turf Wrinkles and Matting
Infill, the granular material brushed down into the turf fibers, is not optional filler; it is what makes the lawn work. It weighs the turf down flat against the base, holds the blades upright so they stand like grass, and helps the surface drain and stay cool. DIY installs frequently use too little because the correct quantity is heavier and more expensive than people expect.
An under-infilled lawn shows it quickly. Without enough weight, the turf is free to wrinkle and ripple as the backing expands and contracts, and without infill supporting them, the blades mat down flat under traffic and never recover, so the lawn looks worn and matted rather than lush. Proper infill applied at the right rate and brushed in is what separates turf that looks like grass from turf that looks like a rug that has been walked on.
Mistake 5: Neglecting Perimeter Nailer Boards and Edging Containment
The final mistake is failing to contain the edges. Turf and its base need something solid at the perimeter to anchor the turf and hold the aggregate in place. Professional installs use perimeter nailer boards, typically pressure-treated wood set into the base edge, that the turf is fastened to, along with proper edging to keep the base from spreading.
Without that containment, the edges are the first thing to fail. The turf pulls away and lifts at the border where it should be most securely held, and the base rock migrates outward, undermining the whole field from the perimeter in. On the sloped lots common across the Eastside, uncontained edges also let water channel along the border and wash out the base. Edging is easy to dismiss as a finishing detail, but it is structural, and skipping it unravels the installation from its outer boundary.
Why Hiring a Professional Turf Installer Saves Money Long-Term
Every one of these mistakes shares a theme: the expensive, difficult, unglamorous work is underground and out of sight, and that is exactly the work that determines whether the lawn lasts. A DIY install that skips excavation depth, base compaction, proper seaming, adequate infill, or edge containment can look identical to a professional job on day one and then fail within a season, at which point the fix often means tearing it out and starting over.
That is why hiring a professional turf installer usually costs less over the life of the lawn than a DIY attempt that has to be redone. Seattle Pro Turf has installed turf across the Eastside for more than 14 years and knows precisely how our hardpan and wet winters punish shortcuts. When we are called in to repair a saturated or failed turf subbase, the recurring lesson is the same: the base was never built to survive here. Building it right the first time is the cheaper path.
The DIY turf failures we get called in to rip out
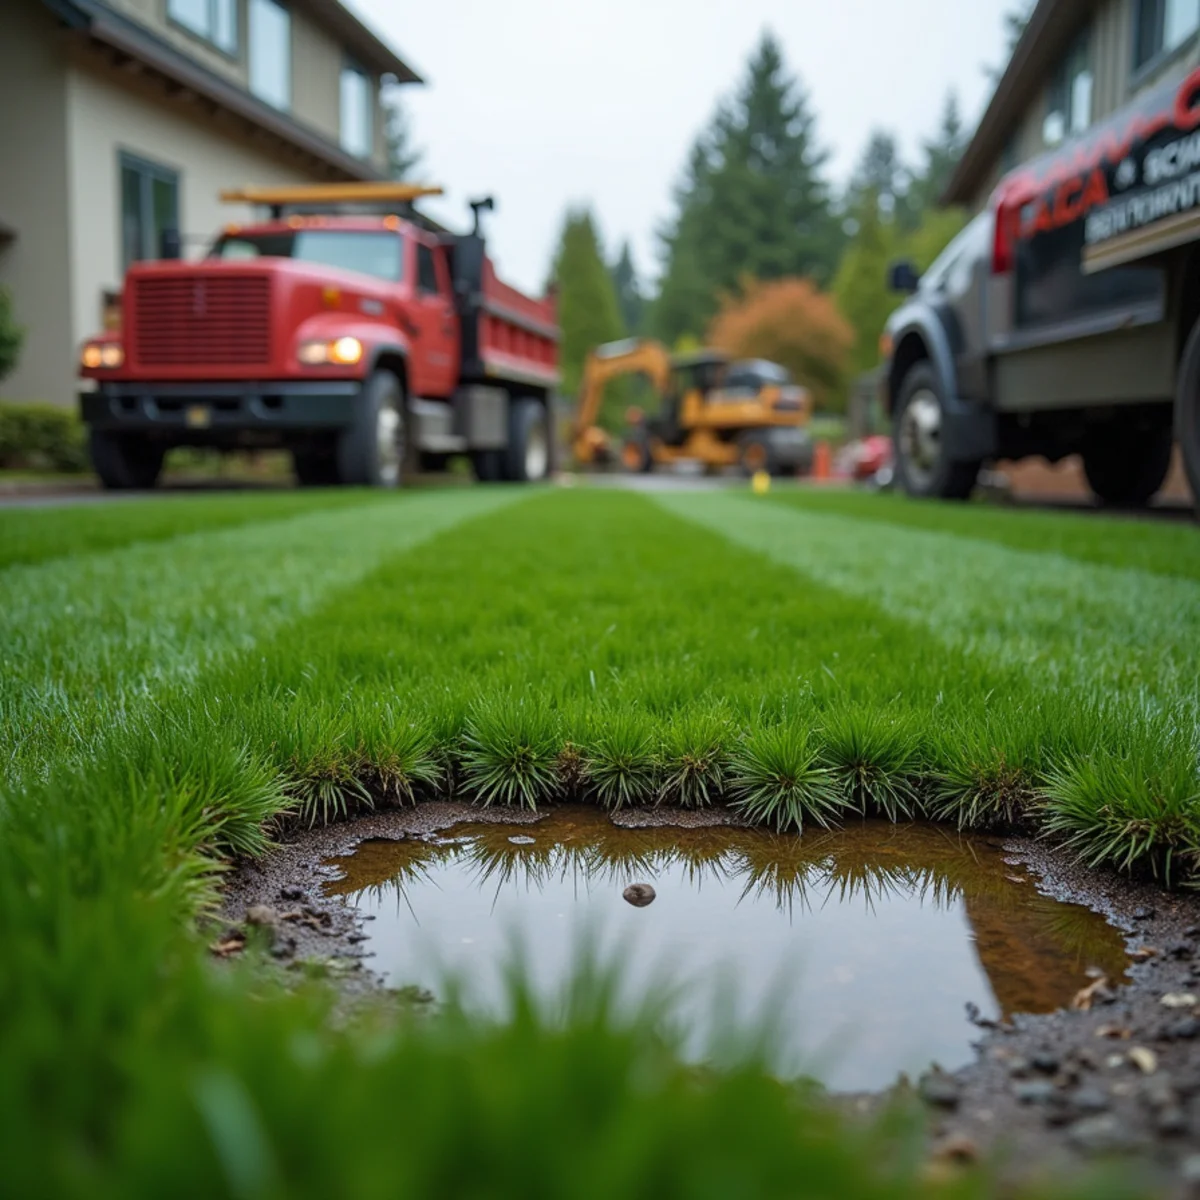
The number one DIY mistake in our region is laying turf on native soil or a thin sand base. It looks fine in August. Then the wet season arrives, water can't drain through the compacted glacial clay underneath, and the whole lawn turns into a saturated sponge that smells sour, grows surface moss, and develops soft ruts where people walk. Turf is only as good as the open-graded crushed base beneath it, and that base is the part homeowners skip because it is the expensive, laborious, invisible part.
Second is seams and infill. DIYers underestimate how much the pile direction, seam tape, and infill weight matter. Panels laid with the grain running different directions show a visible color mismatch that no amount of brushing fixes, and under-filled turf lies flat and matted within a season because the infill is what holds the blades upright. We also see seams that peel because they were glued to a damp base on a rainy Northwest afternoon; the adhesive never cured.
Third, and most costly to fix, is grading and drainage planning. People install turf flat against a house or over an old lawn without correcting the slope, so water sheets toward the foundation instead of away. Redoing that means pulling up turf you already paid for. The base, the slope, and the drainage are the whole job; the green carpet on top is the easy 20 percent.
Pro tips from our crew
- Never lay turf directly on native clay; build an open-graded 5/8-inch crushed base deep enough to drain, then a compacted screed layer.
- Run every panel with the pile leaning the same direction, or the seams will show a permanent color mismatch in daylight.
- Fill to the manufacturer's spec by weight; under-filled turf mats down and looks worn within a single wet season.
- Glue seams only on a dry base in dry conditions, hard to guarantee in our climate, so plan installs around the weather window.
- Slope the base away from the house at the base stage; you cannot fix drainage after the turf is down without pulling it back up.
Frequently Asked Questions
You can, but our glacial hardpan and wet winters make the base work far harder and less forgiving than in dry, sandy regions. The failures we see are almost always in the excavation, base compaction, seaming, infill, or edging, and redoing a failed DIY lawn frequently costs more than a professional install would have.
A proper installation removes several inches of native soil and replaces it with compacted open-graded crushed rock, with the exact depth depending on the site, drainage, and use. The point is to create a firm, free-draining buffer between the turf and the water-holding hardpan below.
Wrinkling usually means the base was not compacted enough and is still settling, or the turf lacks sufficient infill weight to hold it flat, or both. As the base moves and the unweighted turf expands and contracts, the surface ripples, which is one of the most common signs of a shortcut base.
No. Laying turf over living grass and topsoil traps organic matter that decomposes, holds water, and grows moss and mold under the backing, and the soft soil ruts under foot traffic. In our wet climate this fails within a year. The old lawn and topsoil have to come out and be replaced with a draining aggregate base, which is exactly the excavation people are trying to avoid.
Sometimes the turf itself is fine and only the base is the problem, in which case we can lift the panels, rebuild a proper draining base, and relay the same material. If the backing has degraded or the seams have failed, replacement is more honest. Send photos to (323) 606-0255 and we can usually tell you which situation you're in before scheduling a visit.
Artificial turf can be a beautiful, low-maintenance surface that thrives through Northwest winters, but only when the invisible work beneath it is done right. Under-excavating the hardpan, using the wrong base rock, skipping compaction, botching the seams, shorting the infill, and neglecting the edges are the five mistakes that turn a promising weekend project into a wrinkled, lifting lawn that has to be torn out and rebuilt.
If you are considering turf, or already looking at a DIY install that has started to fail, the cheapest path is almost always to build it correctly from the base up. Call Seattle Pro Turf at (323) 606-0255 to talk with an installer who understands our soil and climate, and get a lawn engineered to last instead of one that has to be done twice.
Ready to move from reading to results? Our synthetic turf installation and saturated turf sub-base repair crews handle projects like this across the Eastside — including Kirkland and Woodinville. Call (323) 606-0255 for a free estimate.
Get expert help on your project
SeattleProTurf · 14+ years serving the Eastside · Licensed & insured